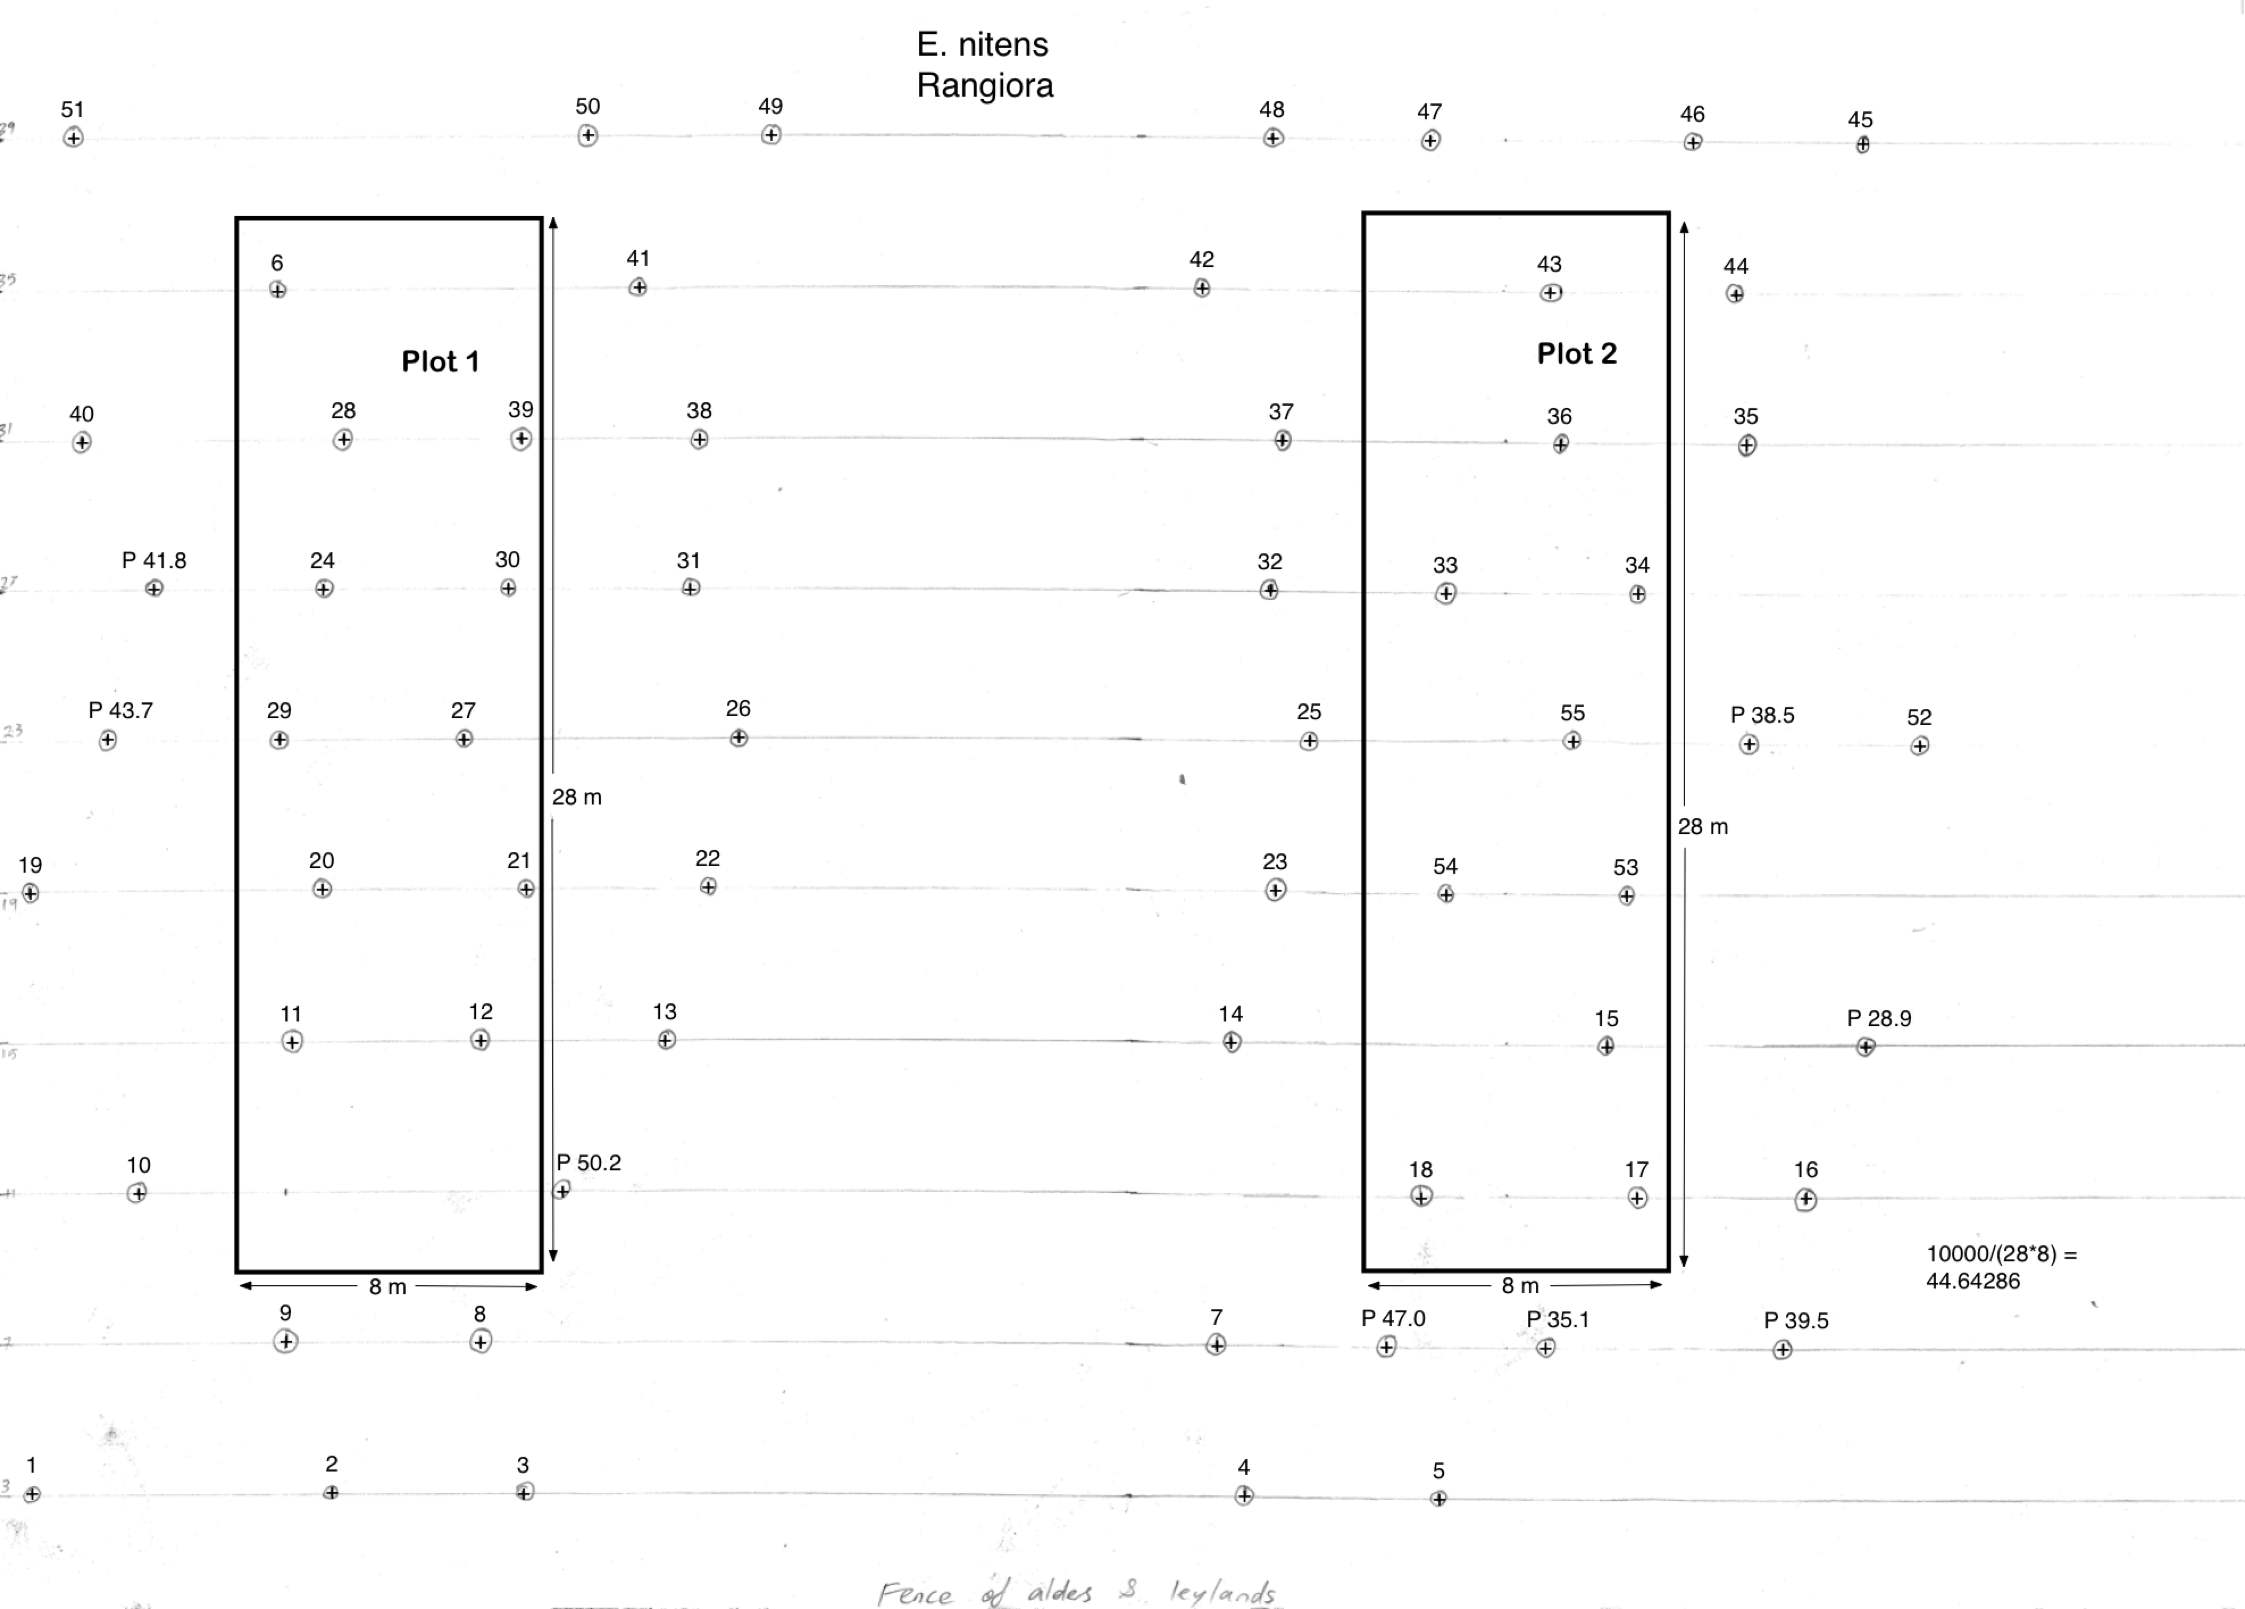
Appendix 11: Case study stand plot
You are here:
Eucalyptus Action Group reports
»
Report:
Eucalyptus nitens
for solid timber
›